Are you looking for a fun way to shake up your hairstyle? Crimped hair could be exactly what you’re looking for! This zigzag wave design instantly boosts both volume and texture in your hair. The greatest advantage ? You can create beautiful crimped hair in only 5 minutes, which is ideal for hectic mornings or spontaneous outings.
In this guide, we’ll walk you through everything you need to know about crimping your hair quickly and easily. From the tools you’ll need to step-by-step instructions and handy tips, we’ve got you covered!
What Is Crimped Hair?
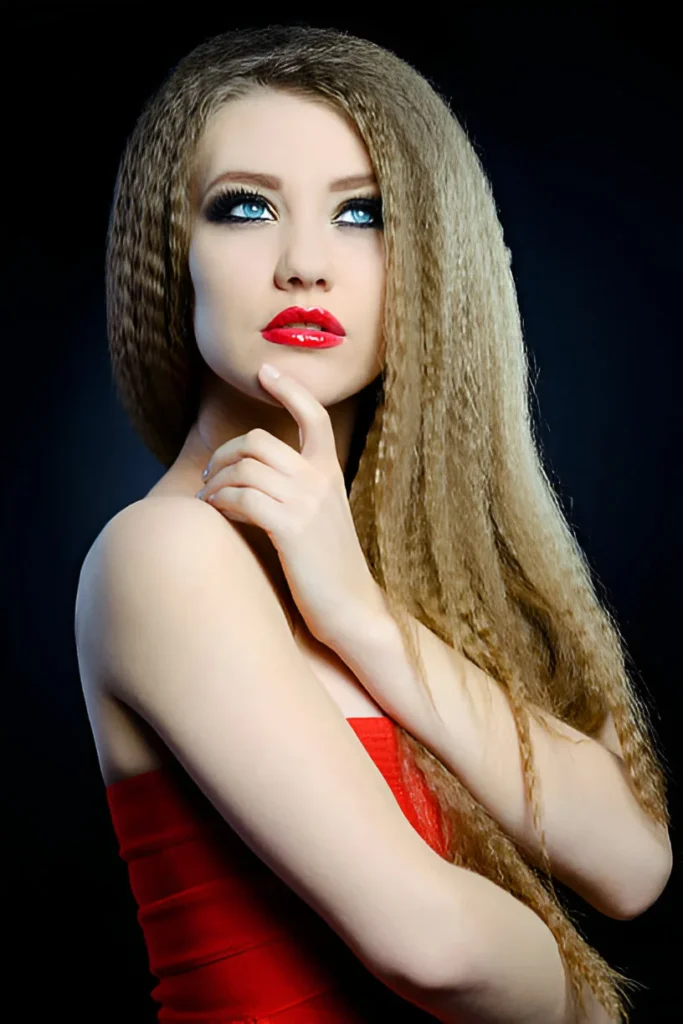
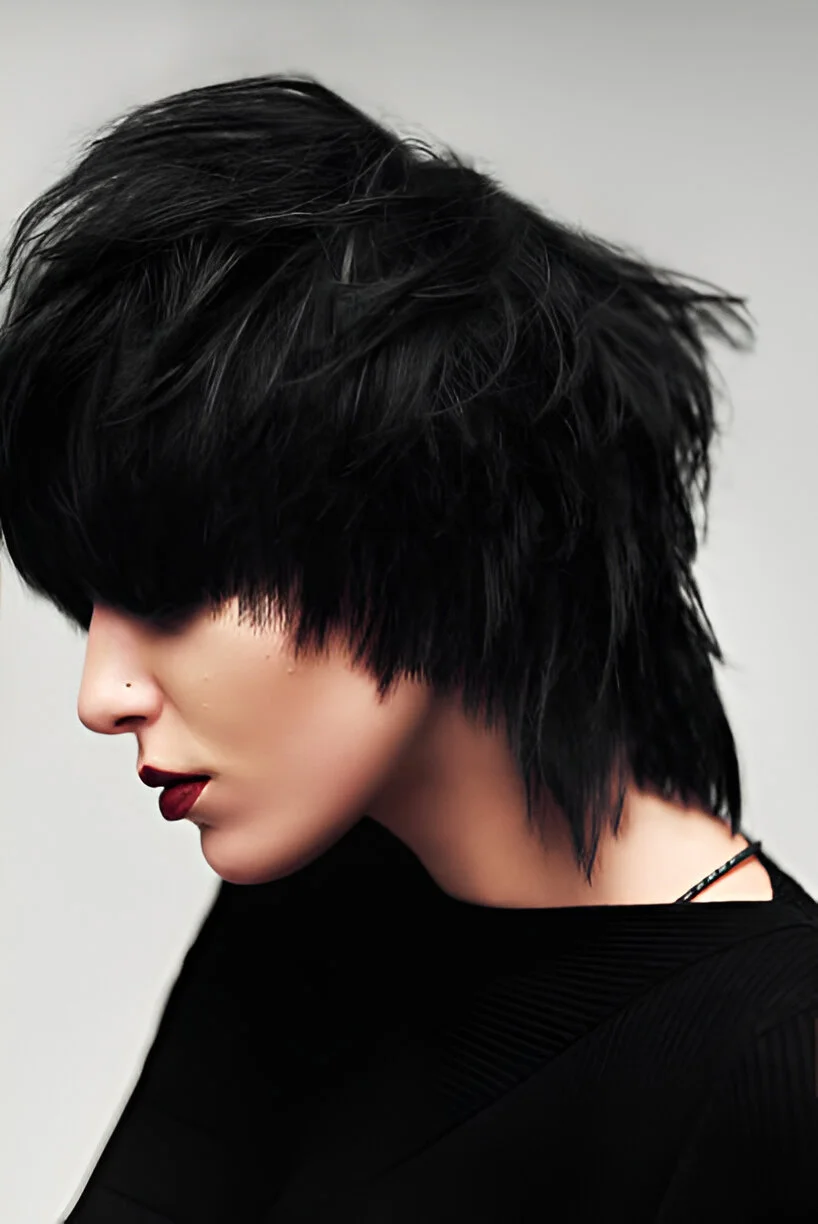
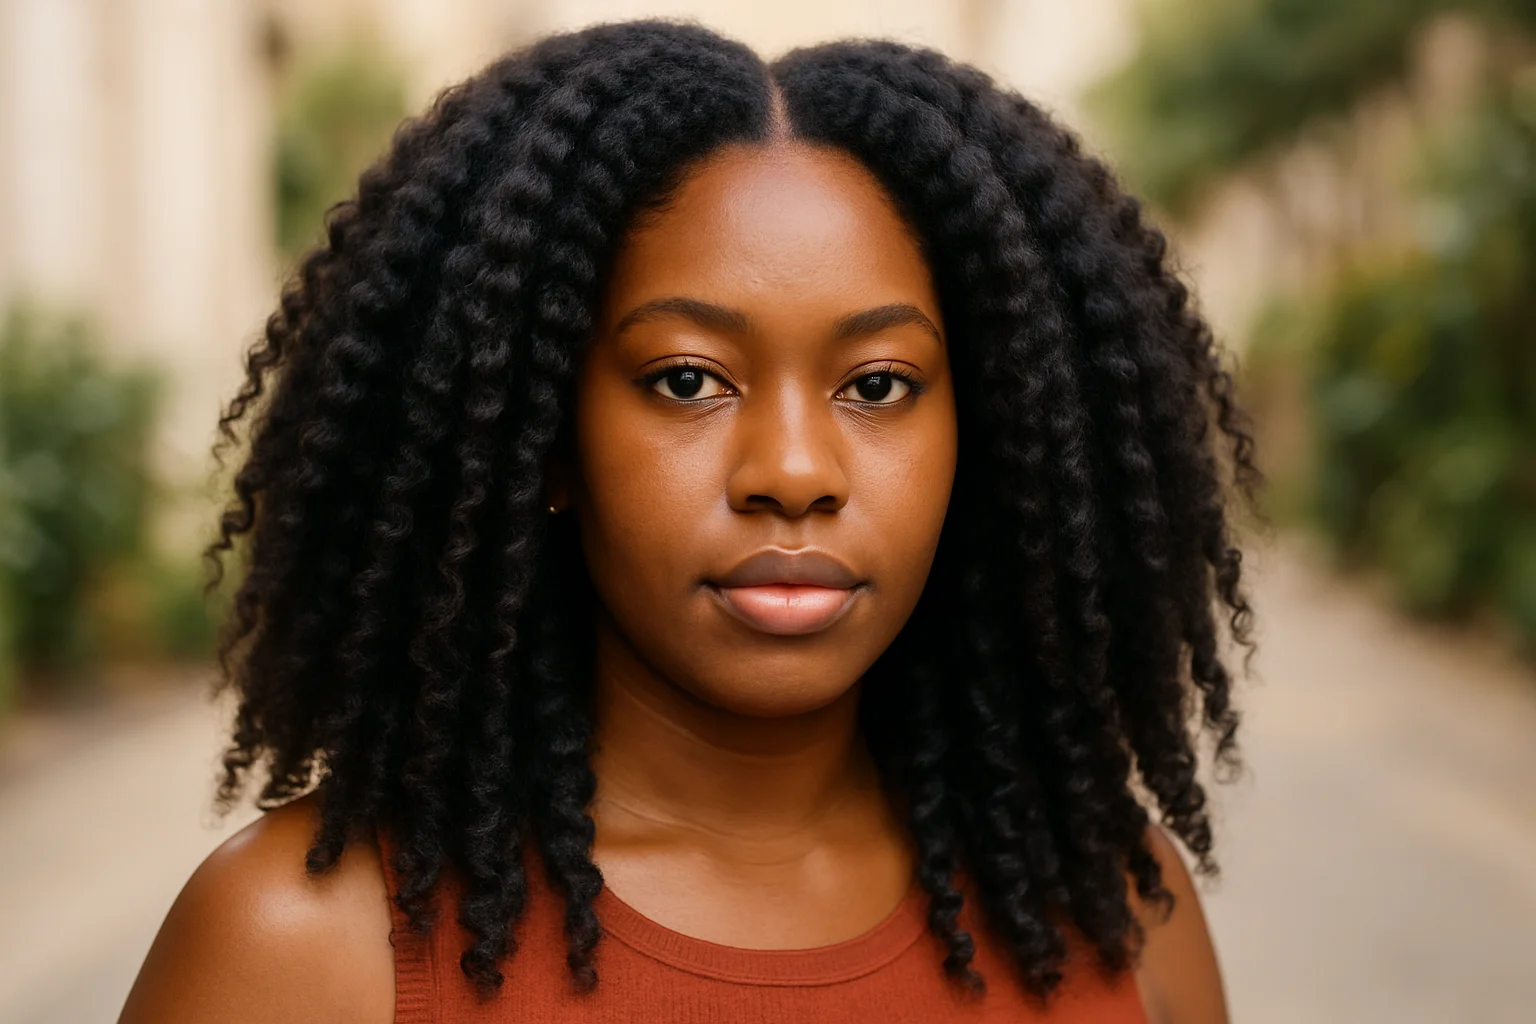
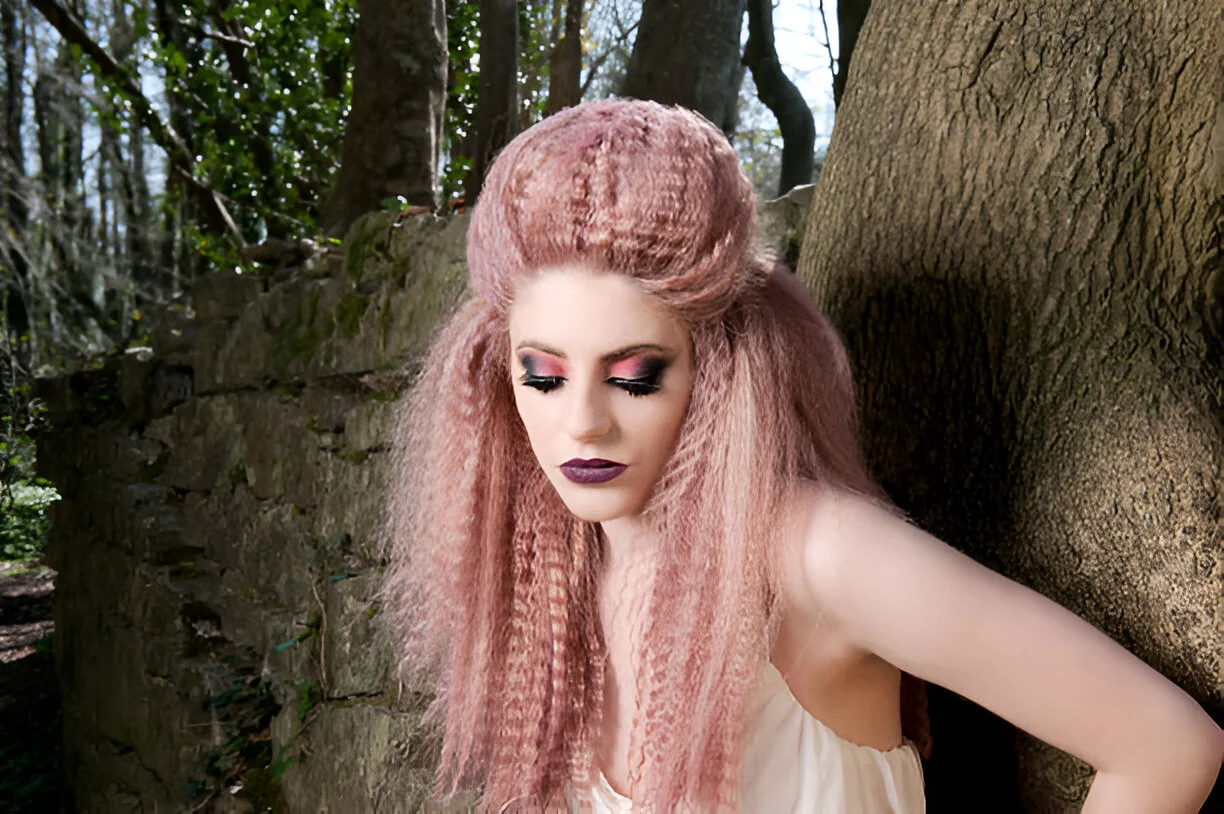
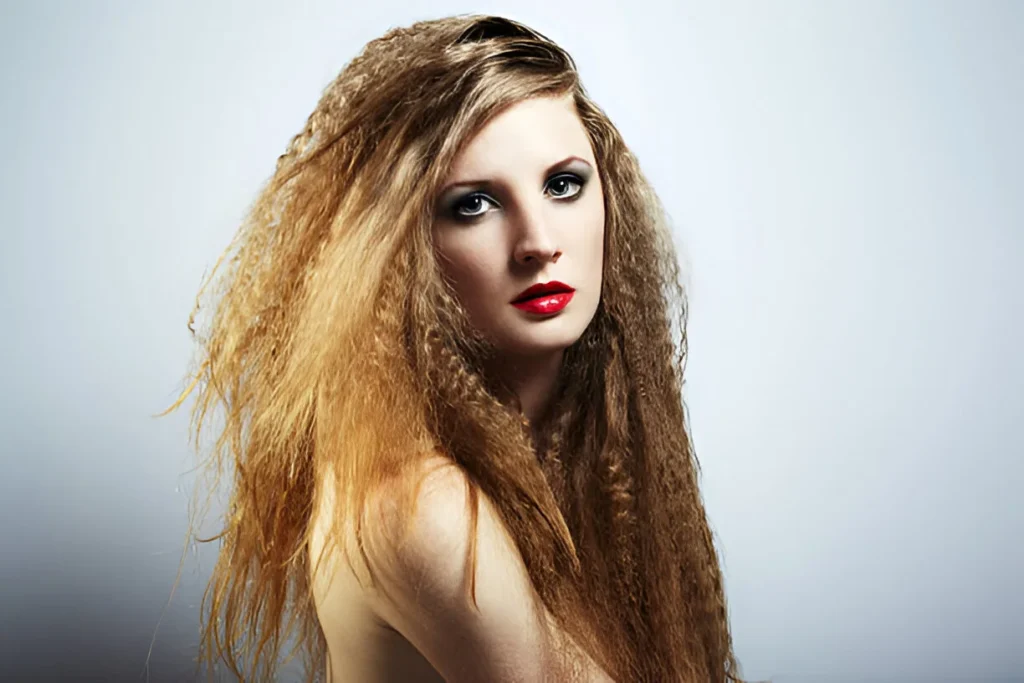
Crimped hair features tight, zigzag waves that create a unique texture different from regular curls or waves. This distinctive style was super popular in the 1980s and 1990s, often paired with scrunchies and bold makeup. Today, crimped hair has made a major comeback, but with a more modern, relaxed twist.
Unlike loose curls that flow and bounce, crimped hair creates a more structured wave pattern that adds amazing volume, especially for people with fine or flat hair. The zigzag pattern reflects light uniquely, adding depth and motion to your hair that straight hairstyles simply cannot provide.
What You’ll Need for Quick Crimped Hair
Before you start crimping your hair, gather these essential items:
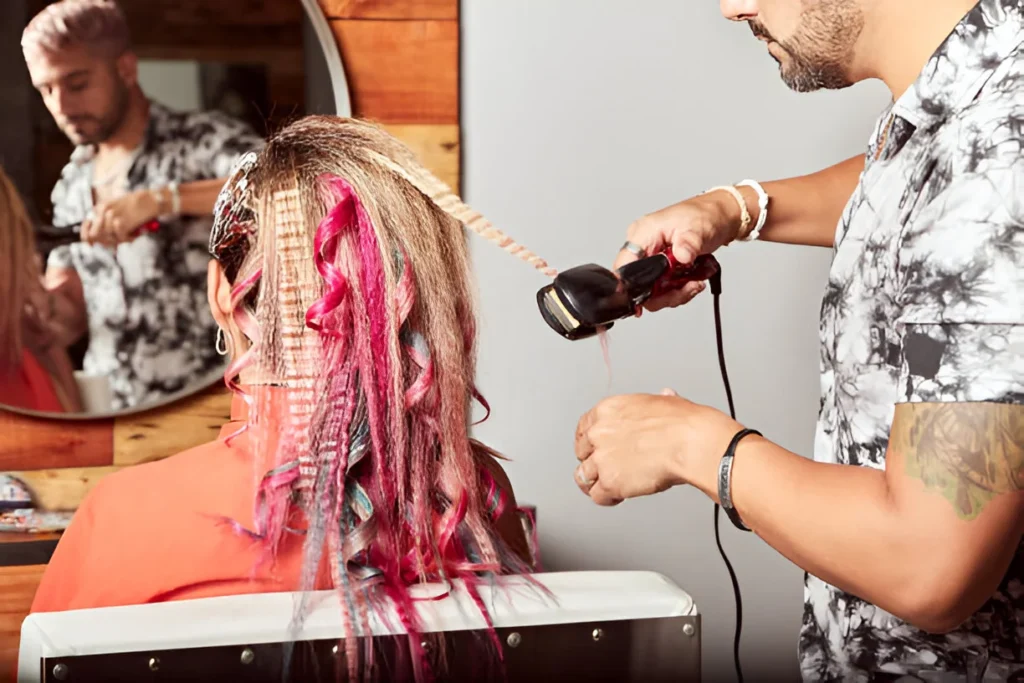
- A hair crimping iron (with adjustable heat settings)
- Heat protectant spray or serum
- Hair clips for sectioning
- Texturizing spray or light hairspray
- Wide-tooth comb or fingers for gentle separation
Don’t have a crimping iron? No worries! You can also create crimped hair by:
- Braiding damp hair overnight
- Using a flat iron with a special technique (we’ll cover this later!)
How to Get Crimped Hair in 5 Minutes (Step-by-Step)
Step 1: Prep Your Hair
Start with clean, completely dry hair. Crimped hair styles work best on hair that hasn’t been washed for a day, as the natural oils help hold the pattern better.
Apply a generous amount of heat protectant from roots to ends. This step is super important because crimping irons can get very hot, and you want to shield your hair from heat damage.
Step 2: Section Your Hair
For even crimped hair results:
- Divide your hair into at least three horizontal sections (bottom, middle, and top).
- Clip the top and middle sections up and out of the way.
- Work with 1-2 inch pieces within each section for the best results.
This method makes sure you don’t miss any spots and helps you work quickly to achieve that 5-minute timeline!
Step 3: Use a Crimping Iron
Now comes the fun part—actually creating those crimped waves:
- Set your crimping iron to medium heat (adjust based on your hair type—lower for fine hair, higher for thick hair).
- Take a small section of hair and place the crimper near the roots.
- Hold for just 5-10 seconds—no longer!
- Release and move down the strand, slightly overlapping with the previous crimp.
- Continue until you reach the ends.
- For a more natural look, alternate the direction of the crimper slightly as you move down.
Pro tip: Don’t clamp too tightly! Gentle pressure creates softer crimped hair that looks more modern and less “overdone.”
Step 4: Set & Finish
Once you’ve crimped all sections of your hair:
- Let your hair cool completely before touching it (this helps set the wave pattern).
- Gently run your fingers through your hair to break up any overly tight sections.
- Add a light mist of texturizing spray or flexible-hold hairspray to lock in your crimped style.
- For extra volume, flip your head upside down and shake gently at the roots.
And that’s it! In just 5 minutes, you’ve transformed your straight locks into textured, voluminous crimped hair that’s ready for anything!
Pro Tips for Long-Lasting Crimped Hair
Want your crimped hair to stay looking fresh all day (or even longer)? Try these expert tips:
- Apply dry shampoo before crimping to add grip and texture
- Focus on the mid-lengths to ends if you’re short on time (this gives the most visual impact)
- Avoid touching your hair throughout the day (this causes frizz and loosens the crimps)
- For multi-day crimped hair, sleep with your hair in loose braids or a high, loose bun
- Use a silk pillowcase to reduce friction and preserve your crimps overnight
Remember that crimped hair actually looks better when it’s not perfect! A slightly “lived-in” look is modern and stylish.
Alternative Methods (No Crimping Iron? No Problem!)
Don’t own a crimping iron but still want to try crimped hair? Here are two easy alternatives:
The Braid Method:
- Wash your hair and towel dry until damp
- Apply a lightweight mousse or setting spray
- Create many small, tight braids all over your head
- Let air dry or blow-dry with a diffuser
- Once completely dry, unbraid and separate gently with fingers
- Mist with hairspray to set your new crimped waves
The Flat Iron Hack:
- Start with dry, heat-protected hair
- Take a small section and fold it back and forth in a zigzag pattern (like an accordion)
- Hold the zigzag in place and clamp with a flat iron for 10 seconds
- Release and repeat on all sections
- This creates a softer, more subtle crimped look
These methods take longer than using an actual crimping iron but are great heat-free or low-heat alternatives!
Frequently Asked Questions (FAQ)
Does crimped hair damage your hair?
Like any heat styling, crimping your hair can cause damage if not done properly. Always use heat protectant, avoid using the highest heat settings, and give your hair breaks between heat styling days. Modern crimping irons typically have ceramic plates and adjustable temperature controls that are gentler than older models.
How do I make crimped hair last longer?
For long-lasting crimped hair, make sure your hair is completely dry before crimping, use a light hairspray or texturizing spray after styling, and avoid humid environments when possible. Sleeping with your crimped hair in loose braids can also help maintain the wave pattern for multiple days.
Can I crimp short hair?
Absolutely! Crimped hair looks great on shorter styles too. If you have a bob or lob, focus on crimping the mid-lengths to ends for the most flattering effect. Very short pixie cuts may be challenging to crimp, but you can still add texture to longer sections on top.
Conclusion
Crimped hair is a fun, versatile style that adds instant texture and volume to any hair type. With just 5 minutes and the right technique, you can transform your look from flat to fabulous! Whether you’re heading to work, school, or a night out, crimped waves add that perfect touch of effortless style.
Don’t be afraid to experiment with different crimping patterns—tighter crimps for more dramatic volume or looser waves for a subtle effect. You can even try crimping just the underneath layers for hidden texture that peeks through when you move.
Ready to rock those retro-inspired waves? Grab your crimping iron and give this quick style a try today! Your hair will thank you for the volume boost, and you’ll love how many compliments you get on your textured, eye-catching look.
Try crimping your hair tomorrow morning and see how this 5-minute style can completely transform your look!